Posted on

Aves Hat and Charmed Fall Accessories collection!

Woohoo! A mystery project of mine is finally releasing today, so now I can tell you all about it. It’s so hard to keep these secrets, but I admit, it’s fun at the same time. I’ve really been enjoying working on a small and growing pile of secret things this year.

Read on for the details, an announcement, and a giveaway!

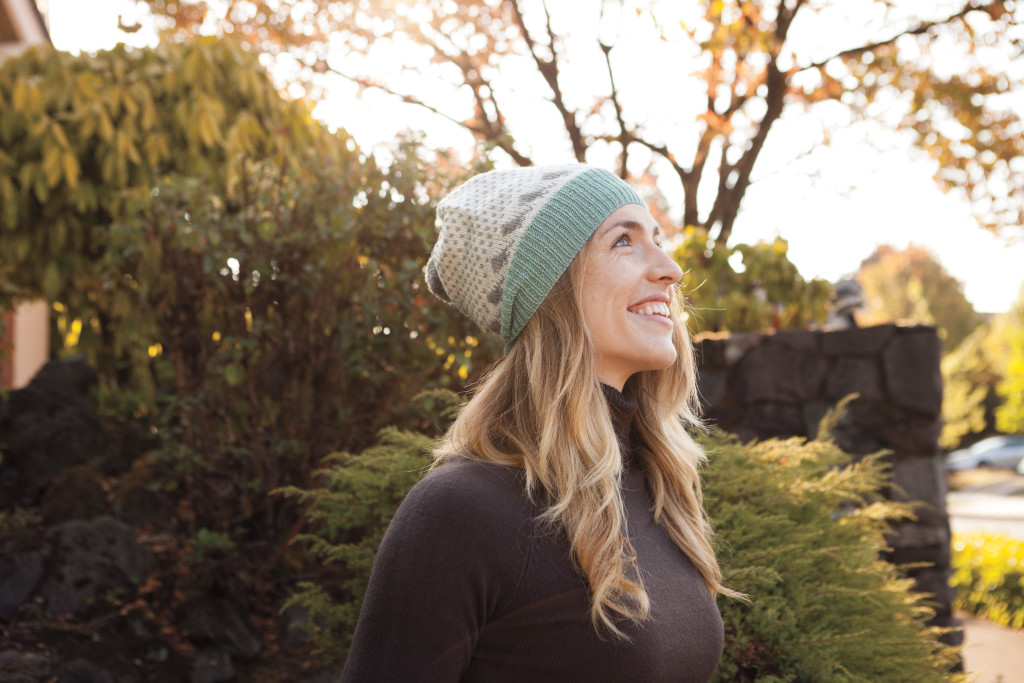
Aves Hat pattern by Amanda Schwabe, part of the Charmed Fall Accesories collection from Knit Picks. #knitting #aknitica

The Aves Hat is now available in Knit Picks’ new Charmed Fall Accessories collection! And oh my goodness, you guys, I’ve been pouring through the book today, and it is adorable. It’s full of cute hats in all sorts of yarn weights, and I notice that most of them (including mine) feature fun pom poms this year. They’re colourful and fun, whimsical, and yes, completely charming. The collection is aptly named. 🙂

51955220_9

I’m also delighted to see a selection of perfect mitten patterns. In fact, they’re basic and versatile enough that you might find yourself knitting them year after year. The designs have beautifully arranged stripes and just make me so happy.

Okay, and there’s more. More! Boot toppers with garden vegetables….!!!… cowls with feathers, with diamonds…. socks with foxes…. a scarf with a gnome on it (hilarious!), and then I found more gnomes as I flipped through the pages. And for the more subdued tastes, there are beautifully textured accessories that will be classics, like the Rectrix Scarf and the Eclate leg warmers and cowl (love!). I think I might need to make the Yarn Chase Hat with the kitty chasing a ball of yarn, at least for my daugher.

A more whimsical, charming, delightful collection I could not imagine. Knit Picks really knocked it out of the park, and I’m so thrilled to be a part of it. It’s just loaded with quick, perfect projects that make me smile.

My fellow Ottawa Knitting Guild peeps might especially like the Circus Hat, which features a bit of light 2-colour brioche stitch in the ribbing. (Our theme this year is brioche, so how perfect is that!) It is super sweet to boot.

Now, my Aves Hat features some light colourwork, just enough to keep things interesting, but not so much to make it scary, I hope. Once the little section of birdies is done, the dots are worked only every fourth row, so you’ll have 3 rest rows in between to knit mindlessly around in circles. It has a nice, slouchy fit and a fluffy pom pom on top that will make it drape just perfectly when worn. I made the ribbing around the bottom to be snug and cozy, and the pattern comes with 3 sizes so everyone can achieve a great fit.

Aves Hat by Amanda Schwabe in the Charmed Fall Accessories collection from Knit Picks. #knitting #aknitica

If you’ve never tried stranded colourwork before, don’t worry! Here are a couple things I’ve written with tips for you, and if you have any questions, just ask. Quick Tips for Knitting Fair Isle Colorwork and  Choosing Colors for Your Knitting.

The nice thing about this hat is that choosing the colours is a bit easier since there are only three. Heck, you could even knit it in just two if you like. I bet it would look awesome in black and white, or maybe black or grey with one of the Stroll Brights. I love those fluorescent colours! I wrote the pattern for Knit Picks Palette yarn, but you could easily knit it in Stroll instead, which is so super soft and lovely in a different way. Honestly, it’s hard for me not to knit 5 of each pattern I make, just to try out different colour and yarn combinations. I need more knitting hours!!

And now, another fun announcement:

If any of you would like to join me in a knitalong of any of the patterns in this collection, I’m inviting you to come and join my new Facebook group. The aknitica group is for anyone who likes to talk about knitting, of any kind, not just my patterns or classes. But obviously, we can talk about those, too, and if you have any questions about techniques or anything, I’ll be there to answer them as often as I can. And I’m sure there will be other knowledgeable knitters there, as well, who can help when I can’t get to the computer fast enough. 🙂

So come join the aknitica community and let’s knit together! There will be a giveaway of the Charmed Fall Accessories ebook, and I’ll tell you all the details of how to enter in the group.
 

Posted on

Making 2-Stitch Cables the Easy Way … And a New Hat Pattern: Merry!

Finally! The long-awaited cabled ear-flap hat is here!

But first, let me tell you my favourite way to make 2-stitch cables. Did you know that you don’t need a cable needle for these tiny things? And you don’t need to rearrange the stitches, either? There’s a fun little trick for making them. Here it is:

Right Cross 2-Stitch Cable

You’ll be working into the two stitches while they’re both still on the left-hand needle. So, insert your right needle into the second stitch (the further-from-the-tip one) knitwise from the front of the work. Knit it, but don’t slide it off the needle. Now, insert your right needle (with the new stitch still on it) into the first stitch on the left needle knitwise from the front. Knit it. Now both stitches have been knit, and you can slide both off the left needle, and you’re done!

Take care that you don’t loosen the stitches as you’re working them. What I do is knit the far stitch, insert my right needle into the next one, then give the working yarn a tug before knitting it.

Left Cross 2-Stitch Cable

Again, you’ll be working the two stitches that form the cable while they’re both on the left-hand needle. Insert your right needle tip into the second stitch, but this time, do it from the back of the work. You can do it through the back loop. (Even though this will twist the stitch, it doesn’t matter because it’ll be hidden.) Knit it, but don’t slip it off the left-hand needle. Now swing your right needle around to the front of the work and knit the first stitch normally and slide them both off the left needle. Done.

Don’t forget to give the working yarn a tug between knitting each stitch to tighten things up. Keep your motions small and work at the tips of your needles.

Now for the hat pattern: Merry!

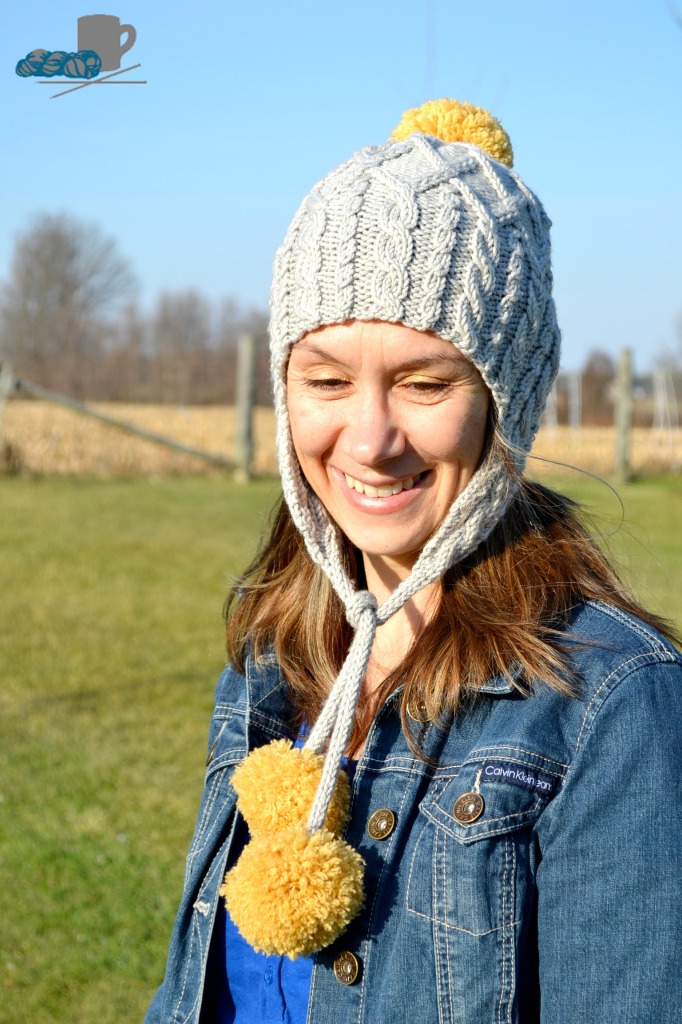
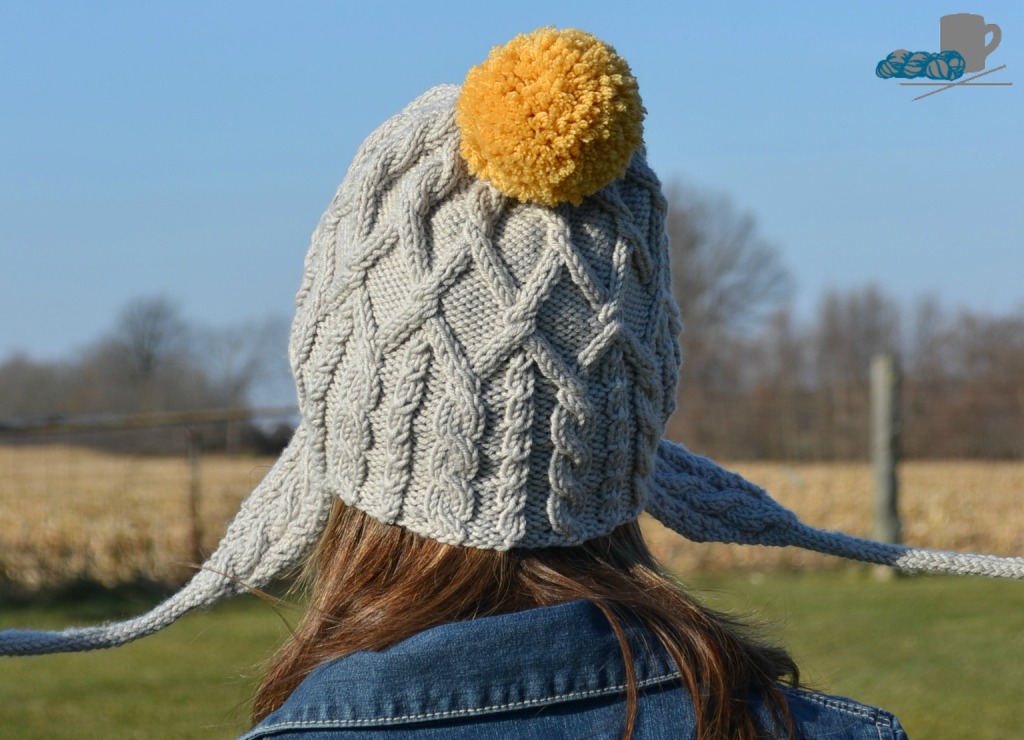
Merry hat pattern. www.aknitica.com #knitting #cables Merry cabled hat pattern with pompoms. www.aknitica.com #knitting #cables #pompoms


If you’ve seen Merrick, then this one will look familiar. It’s a complete reworking of the pattern (even the charts are different) because it starts from the I-cord up. The I-cords grow into the ear flaps, and then the hat is cast on around the ear flaps and worked up to the crown.

It’s a fun, squishy knit that’ll keep your ears and cheeks cozy on cold winter days. It makes a great gift for kids, teenagers, skiers, snowshoers, skaters, outdoor dog walkers, snowman builders, and bus-waiting commuters. The cables give the hat a lot of stretch and squish, so the sizes are quite versatile. And if you’d like to make a more slouchy version, just knit a size up.

Like I do in most of my patterns, I’ve included tips for making everything just so. Never knit an I-cord before? Don’t worry, there are full instructions plus tips for making them even.

And don’t worry about remembering the instructions for the little 2-Stitch cables. I’ve included the relevant ones in the pattern.

[box type=”download” size=”large” border=”full” icon=”none”]You can grab the Merry pattern here.[/box]

Or on Ravelry here.

Posted on

Cozy Fall, Cozy Knitting

There’s a chill in the air around here, and the leaves have been turning rusty shades of sun-kissed orange and red, and a switch has flipped in my brain.  I’m knitting cables.

I picked up a gorgeous skein of Fleece Artist Blue-Faced Leicester Aran on sale at a local yarn shop in the summer.  It’s just brown… but oh! What a brown!  When I finally got around to winding it into a ball (by hand, off the back of a kitchen chair), I discovered that there are depths of warmth and coziness in the colours.  As it ran through my fingers, I fell in love with the texture.  It is soft and squishy and velvety, and I’m in love.

Here’s a little sneak peak of the pattern I’m working on, which, although it was inspired by this yarn, will probably be written for a worsted weight instead.  We’ll see.


I find that my favourite designs come out of experimentation, not premeditation.  Maybe that’s weird.  I will sometimes dream and imagine all the things I’d like to knit, but the reality of those dreams doesn’t always work out.  When I sit down and just get started, playing with the yarn as I go, I often end up with something very satisfying.  Cables can be especially lovely for that, since they can travel around at will as I go.  Hats make a great canvas, since they are small and easily re-knit if things go horribly wrong.

Have you ever sat down and played with a hat?  Here’s a glimpse of what I do:  Cast on something in multiples of ten, with appropriate-sized needles for your yarn, and just go for it.  Throw in some evenly spaced cables, then let them travel around when you get bored.  Maybe I’m strange, but I find that to be a fun and stimulating exercise.  The first hat I cast on ended up being too small, so, about halfway through, I ripped it all out.  The second hat was just right (since I had looked at my stitch count on hat number one before ripping it out to see how many more stitches I’d need).  I had some nice, mindless cables at the beginning, then I started to get tired of them.  Where can they go? I wondered.  So I sent them travelling to see what would happen.  I knew from previous experience knitting other peoples’ patterns how to move a cable around (most recently the Knotty gloves, of which I have made three pairs), and I knew I could always rip things out if I had to.

As I decided on one possibility, others were discarded or filed away in my brain for later.  Maybe this will turn into more than one design for a hat, or maybe there will be matching mittens.  Or leg warmers!  (My one love from the 80’s.)  Who knows?  The point is that knitting is fun, and I can go on adventures in my own kitchen, with Yo-Yo Ma playing in the background.  What a great life.

Posted on 15 Comments

Impunity

When I was a kid, I remember reading a short story called “Impunity Jane.” I don’t know why I always returned to that story; maybe it was because I was a typical girl who loved dolls, and Impunity Jane just happened to be a doll. But really, I think it was the word impunity that had me so fascinated. I just couldn’t infer its meaning from the story’s content. It was a word mystery, and I was hooked.

The mystery remained unsolved, and, eventually, forgotten, until my high school English class. There, in my vocabulary book, was the word impunity! And the definition? Freedom from punishment. The perfect word, waiting to be used in the perfect situation. I love those types of words.

As I was typing up the description for this hat pattern, I realized that the thing I like so much about it is its use of variegated and tonal yarns. I have a love/hate relationship with those yarns, which you may have read about here. They always look so pretty in the balls, and so horribly blotchy in stockinette. Unless.

Unless you can come up with some interesting stitch pattern. Then, they shine. Then, you can knit them up with impunity.

For example, in my new pattern, which I named… Impunity. Shocking, I know.

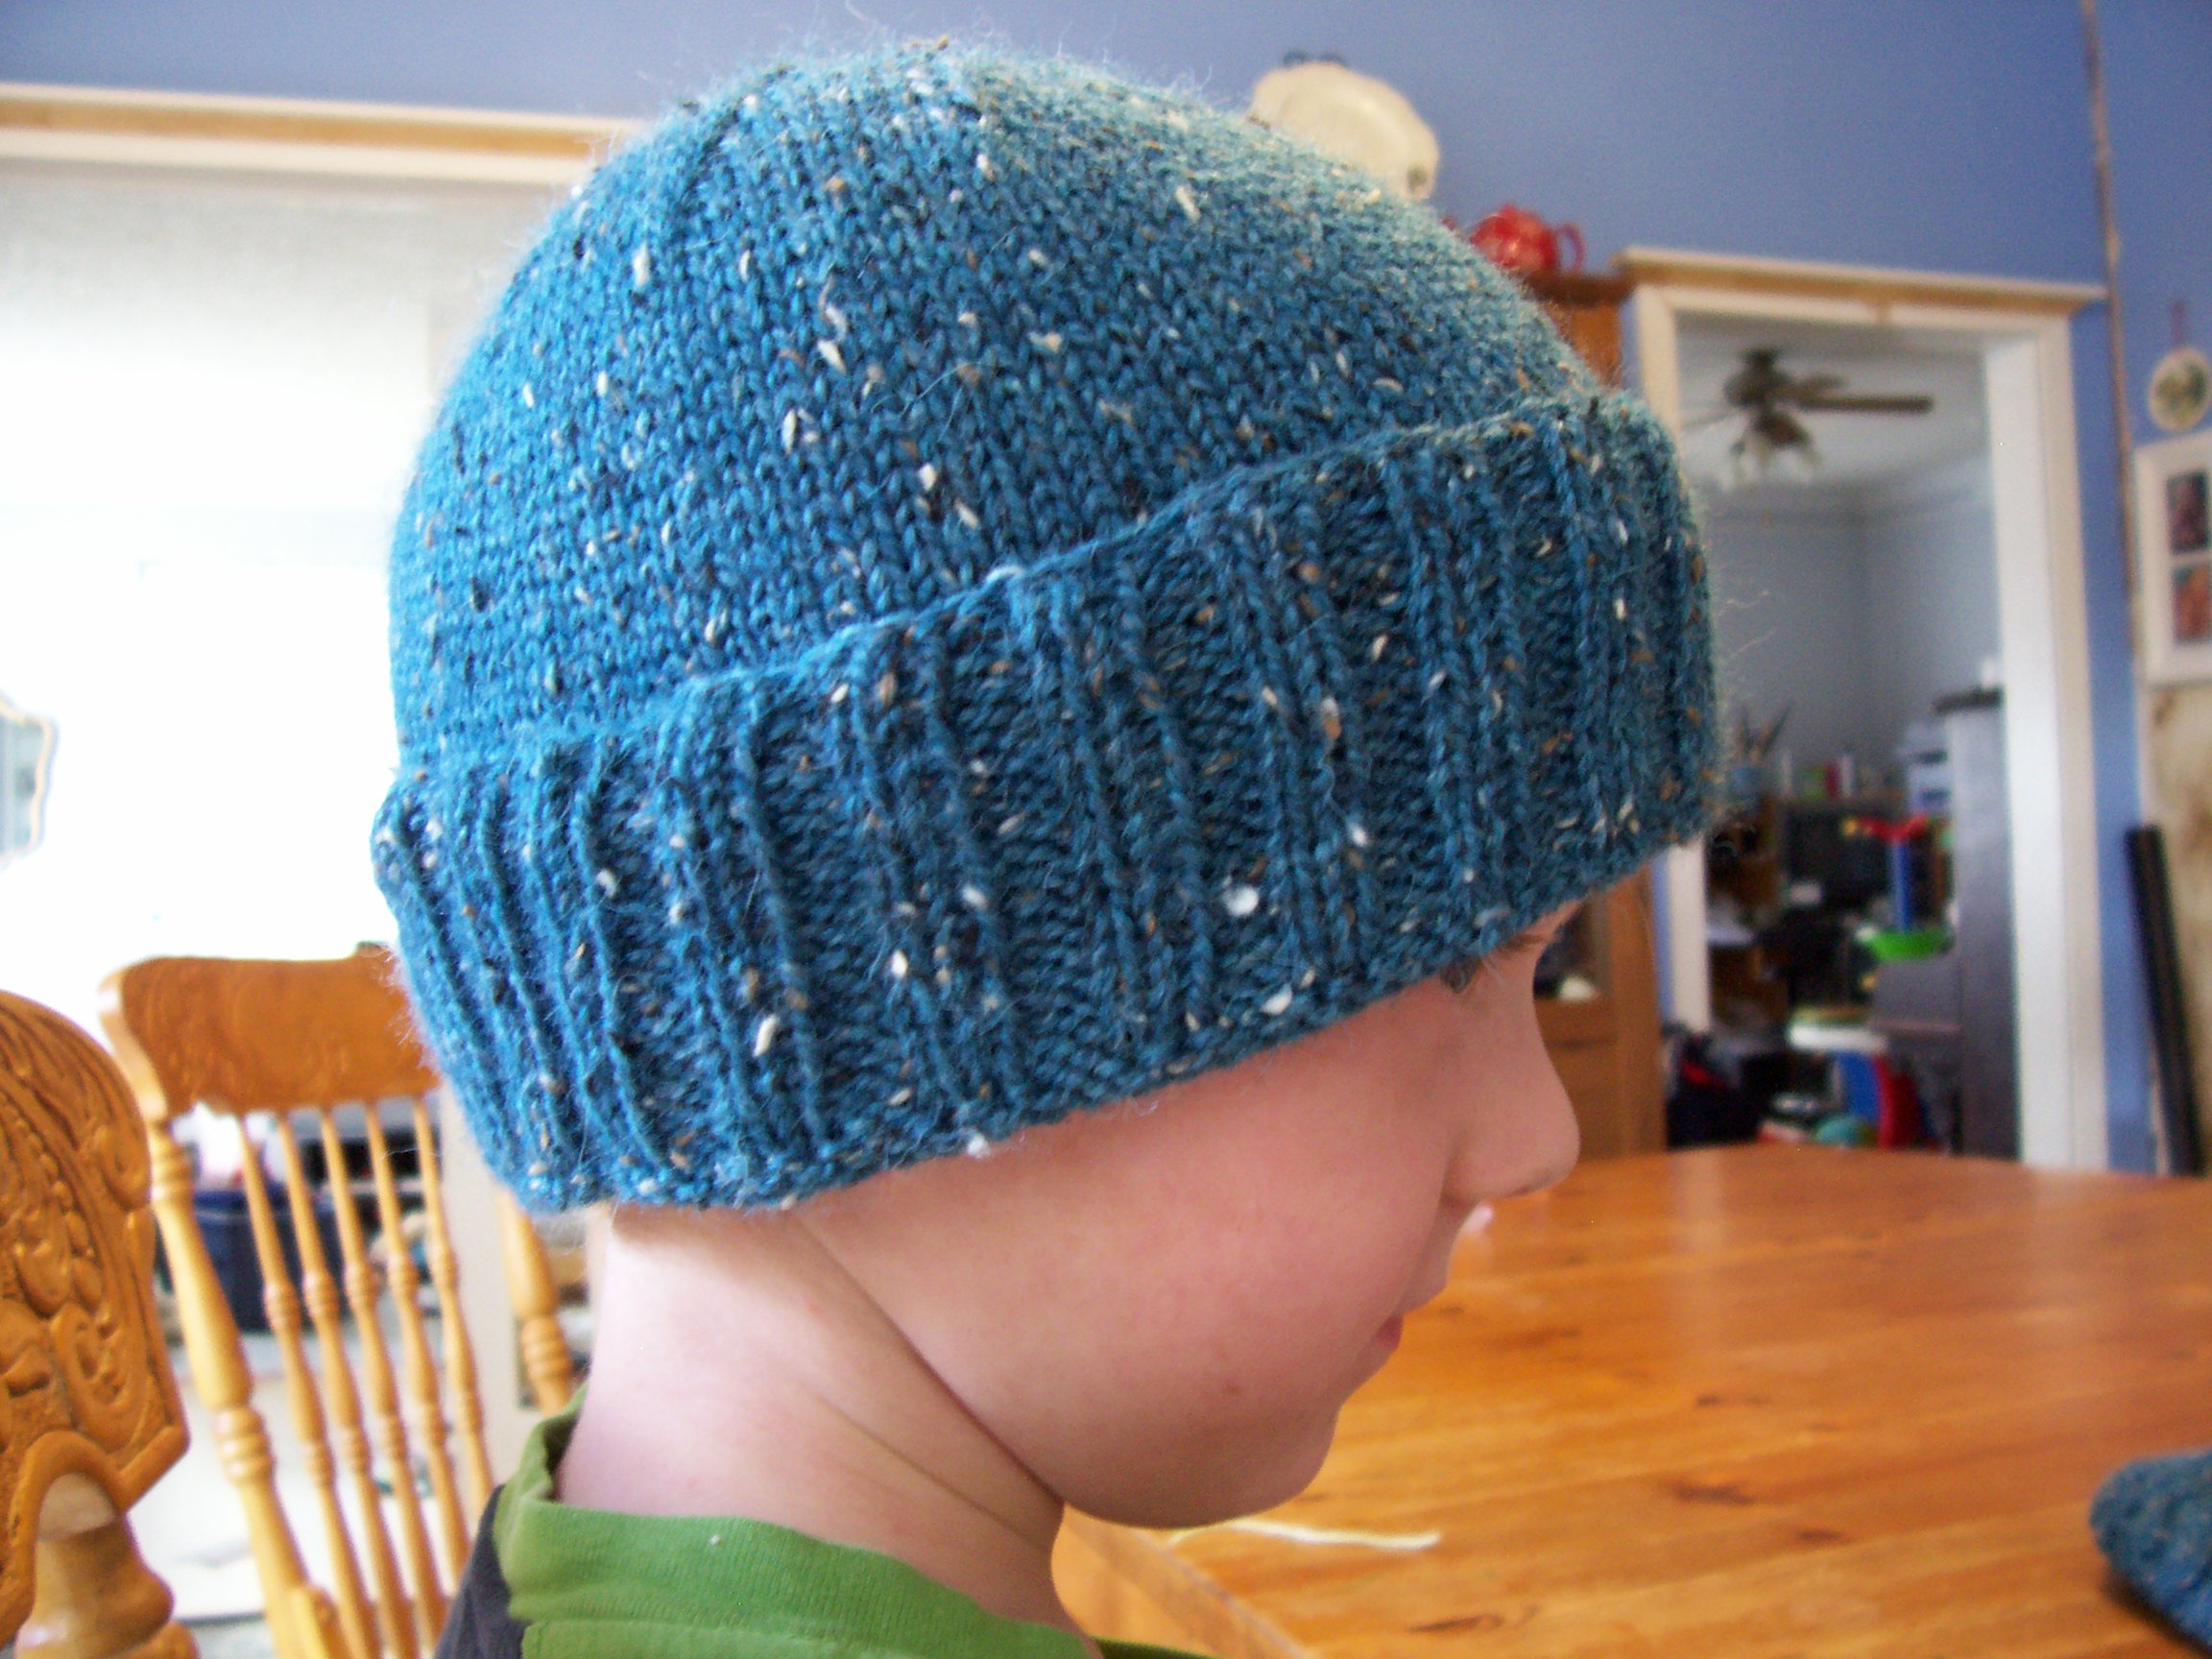
As you can see, these hats have vertical ribbing to break up the colour changes. And the shaping continues right up to the top of the hat. Lots of springy, stretchy rings and visual interest. This hat looks great knit in any colour, for anyone. I’ve been making them for the gezillions of babies being born to all my friends this summer, and I plan to make one for myself, too. And possibly for my husband. If he’s good. After all, what’s the use in being a knitter if you don’t have an over abundance of hats?

The pattern contains sizing for Preemies, Babies, Toddlers, and Children/Adults. Because of the larger-than-normal needle size and the vertical ribs, these hats are stretchy and will fit between sizes. If in doubt, knit a size up. For instance, Preemie is definitely too little for a newborn of average size, but the Baby size will fit a newborn for quite a while. The size shown in the pictures is Toddler, and it fits the pretty little 20-month-old (if I do say so myself) as well as her 5-year-old brothers. But if you’re knitting for an 8 year old or older, I’d go with a Child/Adult size. Clear as mud?

You’ll need a 50g ball of fingering-weight yarn and size 3 US (2.75mm) needles for working in the round. I used two circular needles, but dpn’s or magic loop would work, as well. The yarn I used, that’s shown here, is one of my new favourites: Shibui Sock. Oh, the springiness! Oh, the colours! My hands are happy when I knit with it. The colour shown here is called Roppongi, and it’s a pink/orange mix. Bliss!

[box type=”download”]download now for free![/box]

Posted on

Super Mario Charts

Feel free to use these two charts in any of your knitting projects! I had some fun making them up. 🙂 I have no idea what the copyright is for any of the Super Mario characters, so obviously these are free, and I imagine you should only use them in your own work and not sell anything made with them. And feel free to play around with the colours. I made these charts using www.tricksyknitter.com, and I think I’m really going to like that site for making more charts in the future. It was so so easy.

Anyway, here they are:

Yoshi:

And this is what it looks like in a hat:

I used duplicate stitch to do the small details instead of carrying the yarn. And for the eyes, I actually made a small decorative knot instead. You might also notice that these particular Yoshis also have tongues… They were added on as an afterthought at the insistence of my son, even though these Yoshis are NOT in their tongue-out position. I cringed sewing them on, but he was happy. They’re just a straight, basted line of red, with a little duplicate-stitch bit of red at the end.

Super Mario Bony Turtle:

And here’s what that looks like on a hat:

These hats are knit using a variation of Kate Oates’ Cheery Scrap Cap pattern. I used dk-weight yarn instead of worsted, with size 5 US needles, and I probably played around with the number of repeats, too. 🙂

Posted on

Mighty Warrior

I just finished up this chemo cap for a small friend of mine. It’s a bit of a merge between Kate Oates’ free Cheery Scrap Cap pattern and my own viking horn design, with some modifications thrown in. I’m pretty pleased with the result. 🙂

If you’re interested in making a similar one, here’s how I did this one:

I used Knit Picks Swish DK (instead of worsted weight) and size 5 US circular needles. I cast on 104 sts to make a larger version of the girls’ child-size hat (I basically added 2 more pattern repeats). I skipped the ear flaps this time, and knitted about 3/4″ of 2×2 ribbing before starting into the chart pattern. I used the girl’s pattern for this boy’s hat, but I left the heart part of the chart blank except for one tiny row of red dots.

As for the horns, you can download my pattern for them from Ravelry with this link: download now

May all the mighty warriors out there with battles to fight be strengthened by our love and prayers as we knit for them.

Posted on

Vacation Knitting!

Because what would a vacation be without yarn?

I knit up the last piece of Eva’s sweater, and I think I’ll continue the vacation vibes by sewing it up this week. It’s a Duffle Coat by Debbie Bliss knit up in Knit Picks Swish DK in Amethyst Heather.

I also cast on these Wallflower socks, which I’ve been drooling over since I took the Two Hands, Two Colours class from Sally Melville at my local yarn shop. The Knit Picks Chroma is so sticky! I love it.

Before I could start them, though, I had to finish up these Jaywalker socks that were on the needles I needed. (The poor things had fallen victim to the New-yarn-arrived-so-I’ve-moved-on-to-another-project-and-I’ll-get-back-to-you-later Syndrome. I hear it can sometimes be fatal if left too long. As it was, they barely escaped without serious side effects. Thankfully, after some stitch counting, pattern puzzling, head scratching, husband laughing, and more stitch counting, they’ve pulled through the crisis and might even match — stitch-wise, not stripe-wise. I sometimes like a good, confusing, mismatched stripe.)

I also tried out a new stitch pattern I’d had brewing in my mind for a manly scarf. (For some reason, my husband says I don’t knit for him. I don’t know what he means! After all, that pair of socks I knit for him last year will be ready as soon as I sew in those last three ends. Sheesh.) Right. So, here’s what I came up with:

As you can see, it went great.

And, last but not least, I worked on some sizing for the child-size version of the Tulip Preemie Hat. I was aiming for a one-year-old size to fit Eva this winter, but I think it may need some work. See what buying a written pattern does for you? It saves you time and frustration because someone else has been frustrated for a time instead.

Oh yeah! I don’t know how I forgot about this one, but I also cast on another Ten-Stitch Blanket with some yarn I picked up in a shop near the cottage. It’s Bernat Mosaic in about five different colourways. It’s acrylic (bleah), machine-washable and -dryable (yay!), and WAY cheaper than the Noro Aya I used in the same pattern for my sister-in-law’s wedding present (yay again!). Even though I strongly believe we knitters should never have to sacrifice using quality natural fibres, my wallet doesn’t always agree with me. And, I have to say, the colours in this yarn are gorgeous, the mixture of them is more to my taste than the Noro’s was, and even though my brain knows I’m feeling acrylic instead of a luscious blend of silk, cotton, and wool, my fingers can’t really tell the difference. Plus, I’ve only come across one tiny knot so far, which is far less than the ten-dollar-a-ball, “high quality” Noro can boast. Oh, and when my kids spill cheerios all over it, make a fort out of it, and just generally rub their kidliness all over it, I won’t care because I can throw it in the washer.

To top the vacation off, I made the mistake of heading to Wool-Tyme for their tent sale, where I picked up a pile of yarn for ridiculously low prices. I’m quite excited about some of it (sock yarn and bamboo DK in vibrant greens and purple), and some has me scratching my head wondering why I thought I needed six huge balls of bright orange acrylic yarn just because my kids like that colour.

Good yarn that will be made into preemie hats
Questionable yarn that will nevertheless make my kids insanely happy as a blanket

Now this orange yarn, on the other hand, is something I consider a good buy. Eco Wool, on sale!

I’m picturing it, along with the leaf green, as stranded mittens for the boys to keep their little fingers double cozy this winter. Makes me feel all good and motherly.

Now, to stay home, stop spending money, and happily work my way through my stash.

Posted on 8 Comments

Hand-Painted Preemie Hat

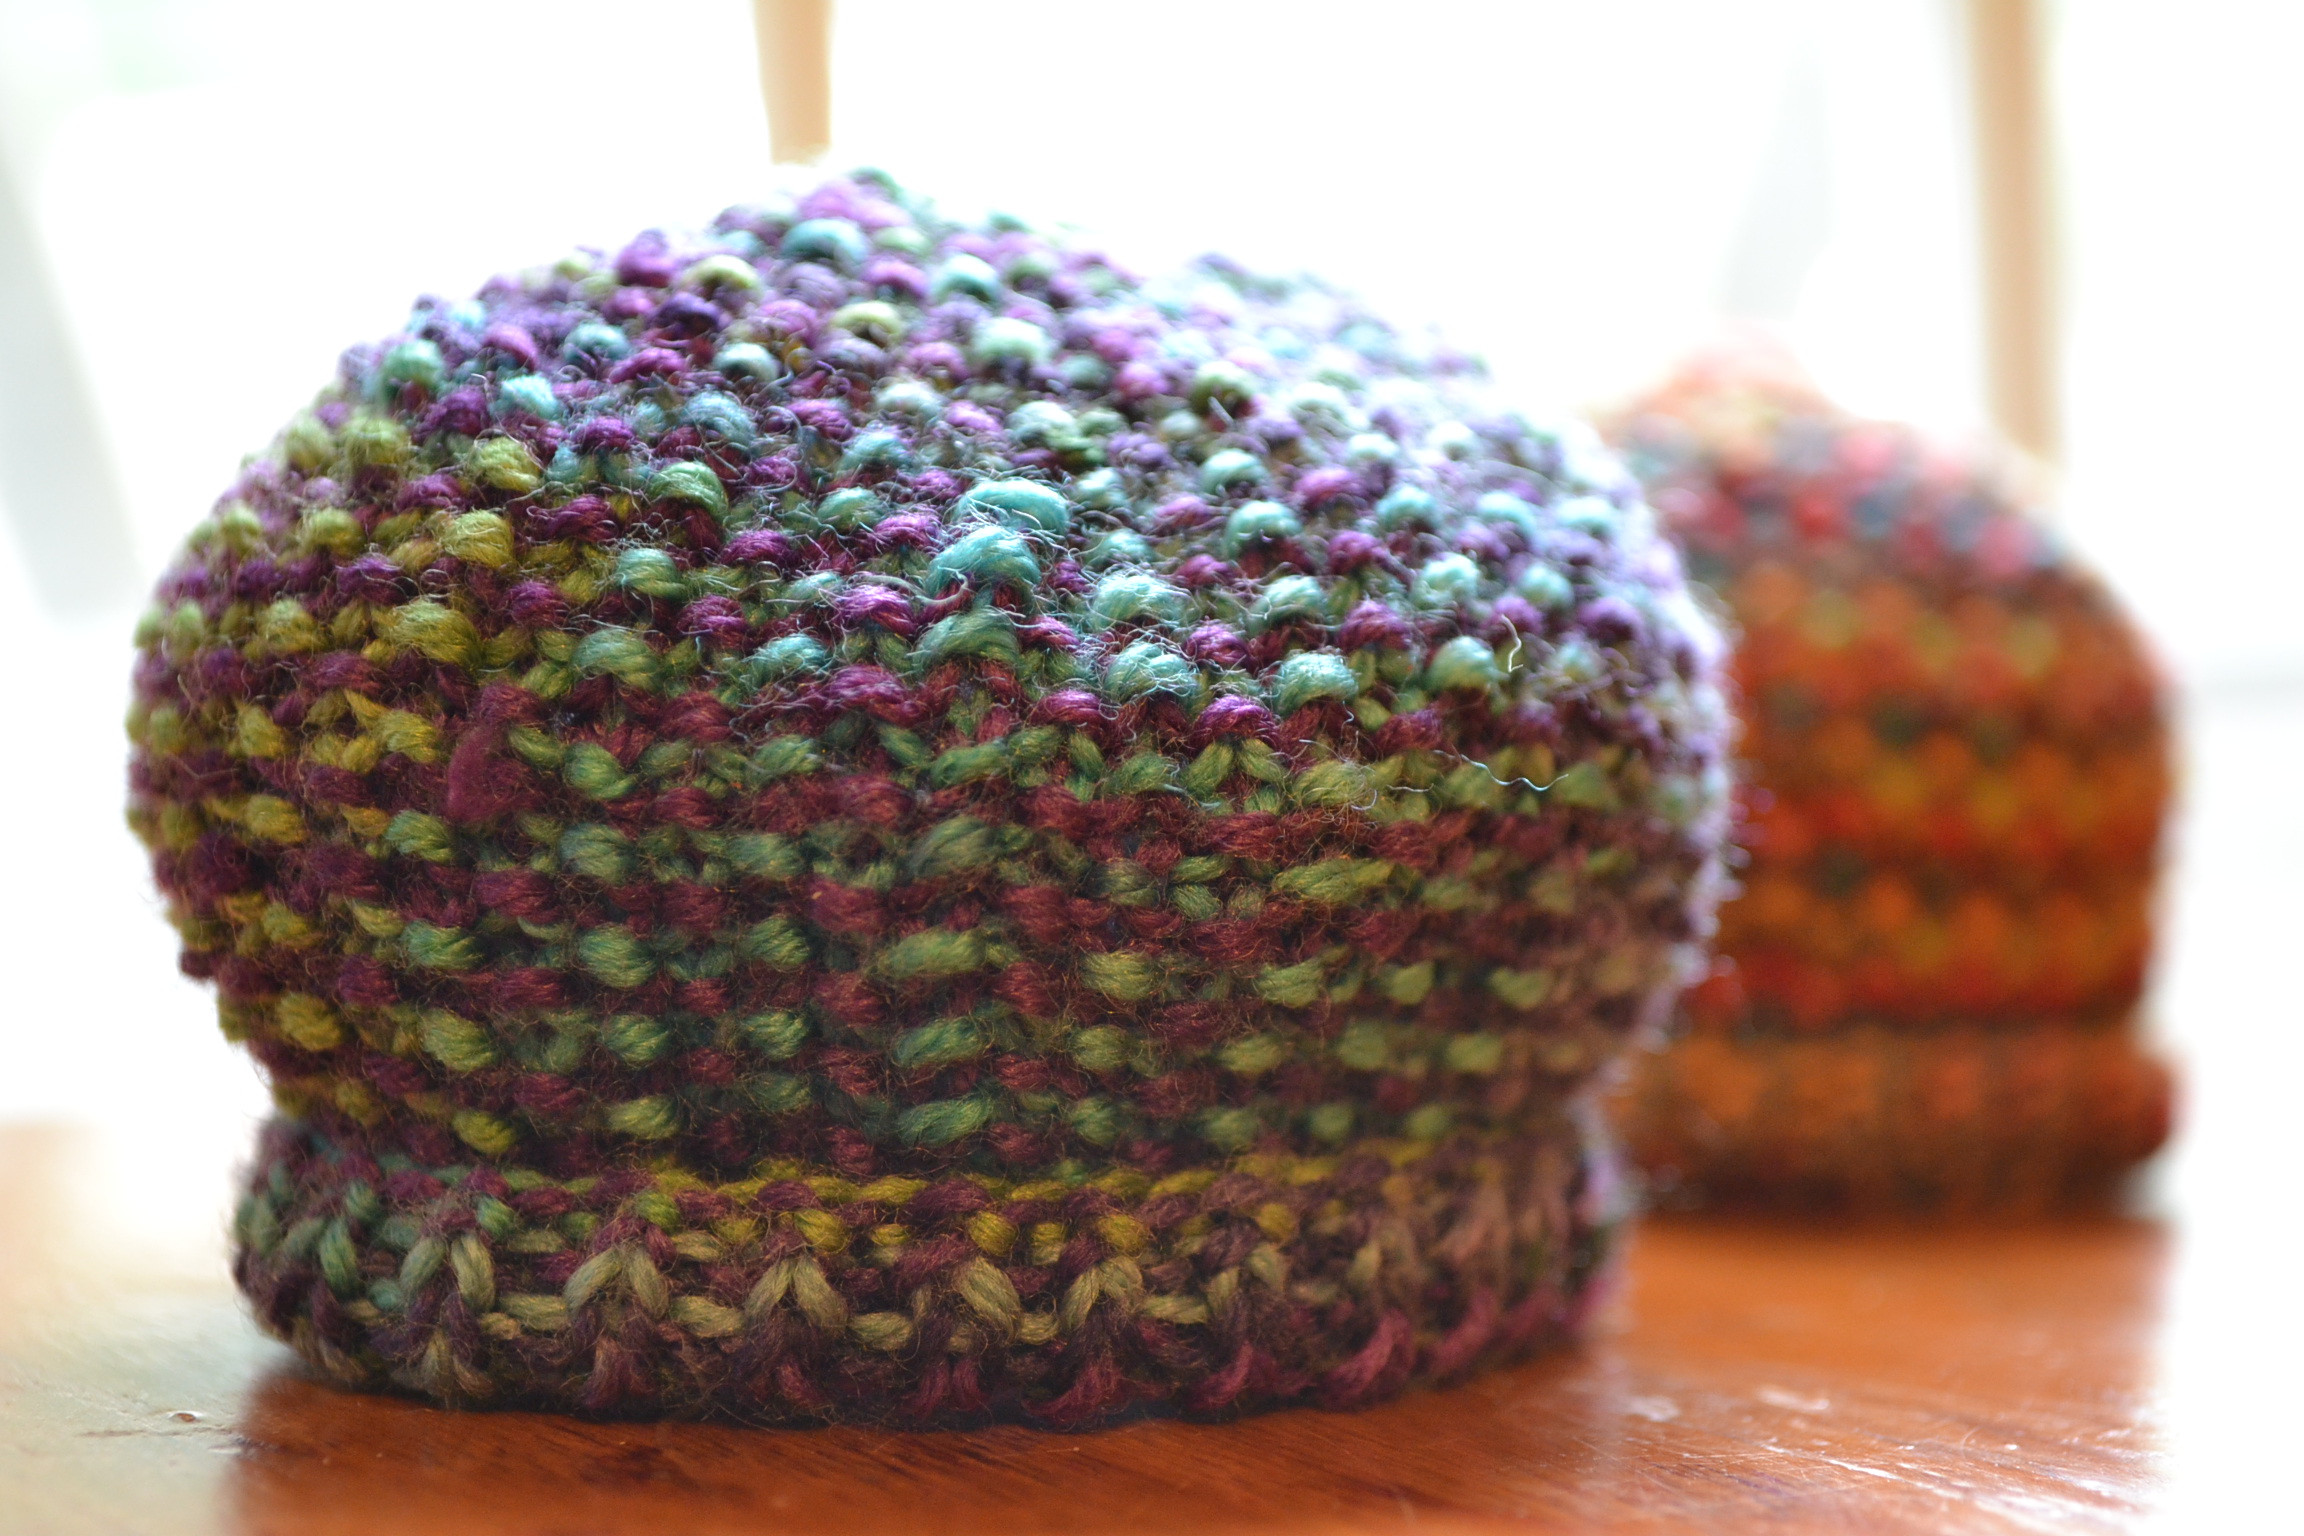
I love buying hand-painted yarn, but then I’m inevitably disappointed when I knit it up. The gorgeous, vibrant colours suddenly pool or stripe in weird ways that make the ugliest little hats. But when I use a textural stitch, like seed stitch, suddenly the yarn regains its charm and the hat becomes delightful!

You can see how the stitches break up the lines of colour and give it an almost tweedy effect.

Top view

I’ve worked out the top decreases in the seed stitch pattern to keep the effect going right up to the top. I’ve tried decreasing in seed stitch a couple different ways over the years, but this pattern uses my favourite. I hope you like it, too.

The pattern for these little hats includes sizes from micropreemie up to a full-term newborn. You’ll need size 2 US needles for working in the round. I prefer using two circs, but any technique will do.

You can grab the free download here:
download now

Posted on 6 Comments

How to Knit a Hat

You have yarn. You have needles. You have cold ears on a blustery day. (Or you’re having a bad hair day. It happens to the best of us.)

How do you make a hat out of thin air, without a pattern? How do you move from knitter to designer? How do you become the master of your hat destiny?

That’s easy. Let me explain.

First, you cast on. (Simple, right?) There are two ways to figure out how many stitches to cast on. The first one is very mathematical and by-the-book, and the second one might make you laugh — but hey! It worked for me for years, and it’s very fly-by-the-seat-of-your-pants, which can really come in handy sometimes. Right?

So, method one: Knit up a gauge swatch. If you’ll be knitting your hat in the round, you knit your gauge swatch in the round. If you want to knit your hat back and forth on straight needles, knit up your gauge swatch in the same manner. Once you know how many stitches per inch that particular yarn works up to on those particular needles, you simply measure the head you’re knitting for. If it’s 20 inches around, and your gauge is 5 stitches per inch, then that’s 20 X 5, which is 100 stitches. Easy peasy. To recap, multiply your head circumference by your stitches per inch gauge, and you have the number of stitches to cast on to fit that head with that yarn.

Now, the second method. (Don’t laugh!) I seriously used to just cast on my stitches, using either the long-tail method or the knitted-on method, then hold them up to my head to see if it looked about right. The only catch is, you have to know how that cast-on method will change once it’s been knitted for a few rows. I found that the long-tail method would give me a fairly accurate reading if I [somewhat] evenly spread the stitches out on the needle in a way that was not too stretched or too crowded. But with the knitted-on method, I had to stretch the stitches as far apart from each other as possible to see how long they’d be once knitted up. Then, I’d hold the needle up to my head and swing it around from a beginning point at the back, pivoting it around my head to see if half the stitches would reach to the centre of my forehead.

Yes, I really did that.

The next step, once you have about enough stitches on your needles, is to make sure they’re divisible by either 9, 10, or 11. If they’re not, fake it. Either drop a stitch or two off, or add a stitch or two on. You’re planning ahead right now for when you get to the decreases at the crown. (p.s. For adults, multiples of 10 or 11 are best, and babies’ or preemies’ hats are probably better with 9 or even 8. Kids are in between, so pick whatever you want.)

Once you have your cast-on number in a happy place, you’re ready to choose the edge. If you want a rolled edge, just start knitting in stocking stitch (knit the right-side rows, purl the wrong-side rows if you’re knitting flat, and just knit every row if you’re knitting in the round). If you want it stretchy, try some ribbing. (Just make sure the ribbing you choose divides evenly into your stitch count. One-by-one ribbing will work on any even number, and two-by-two will work on any even number which you can then divide a second time evenly, like 60 or 80.) If you want it a little loose, garter stitch will work. Or, you could just start into a lace repeat that goes with the number of stitches you cast on. Really, there are no limits.

You work in that edging until you’ve had enough, then you switch to something else if you so desire. Maybe you want ribbing for two inches, then stockinette for the rest of the hat. Or maybe you’d like a hat that’s ribbed right up to the top. Maybe you want to plan on your hat being really long so you can fold the bottom up, or maybe you’d prefer a hat that ends above your ears. It’s so completely up to you now! You don’t need no stinkin’ pattern anymore.

The only other thing you’ll need to do is decrease at the crown. Basically, when you’re about 2 inches away from the top of your head, start to decrease. Try the hat on to see if you’re there, or just eyeball it. If you’re making a baby-sized hat, you probably won’t even need 2 inches to decrease. My subconscious rule of thumb, which I’m just now realizing to myself for the first time in order to communicate “how I do this,” is to knit about 3/4 of the hat length, then use the final 1/4 for the decreasing. Knit stitches are such amazing, naturally proportioned things. Now matter what yarn I’m using, or what stitch count, or what size needles, that ratio seems to just work. Try it out. (And for goodness’ sake, tell me if I’m wrong! But I bet if I am, it’s just by a little bit.)

Here’s another tip: if it looks too short and fat, it probably is. Think about it. We are people who are constantly looking either in the mirror at our own heads or at other peoples’ heads. You know what a head should look like. If you think the hat doesn’t look like a head shape, you’re probably right. If you think it looks about normal, you’re also probably right.

Now, to the specifics of decreasing. Remember when you made sure your cast-on number was divisible by either 9, 10, or 11? Here’s where you take advantage of that. Let’s say you’ve chosen multiples of 11 (which are quite fool-proof, if you ask me). You’re going to *knit 9, k2tog* all the way around your hat. That’s right. If you’ve cast on 99 stitches (which is a perfectly normal adult-size number using worsted-weight yarn and size 6 or 7 US needles), you’ll repeat that decrease section 9 times because 99 divided by 11 is 9. Multiples of ten mean a *k8, k2tog* around strategy, and multiples of nine mean — you guessed it! — *k7, k2tog* around.

Do your decrease rounds every other round so they’re not all squashed together. (Unless, of course, you want to try something different and decrease really quickly in the last inch of your hat. Hey, you could call it a “design element.”) Every subsequent decrease round, you will, of course, be knitting fewer stitches between each k2tog. One fewer stitch per repeat, in fact. (Picture “k8, k2tog; k7, k2tog; k6, k2tog; k5, k2tog…” and so on, down to “k2tog” all around.) Once you’ve decreased down to your last *k2tog* around, don’t knit another round. Just stop, cut your yarn, thread the end through the rest of your stitches, and draw it tight. Wow. You just made up a hat. All by yourself.

(If your hat was knit in the round, you’re done. If you knit it flat, then add one more step: sew the seam. I use a flat stitch to sew my seams shut. Your best bet is to have a good knitting reference book around with a couple options in it so you can pick and choose which one will look best with the stitch pattern you’ve chosen.)

Now, since we’re being creative and rebellious by making up our own darn hats, feel free to fiddle with the decreases, too. Why not try ssk and have the decrease lean the other way? Or why not decrease in whatever pattern you’ve chosen? When I make a hat that’s ribbed right up to the top, I do my best to keep the flow of the ribs going for as long as I can. I still take about 2 inches to get the decreases done, but I might space them out in different ways. Really, yarn is pretty forgiving stuff. And if it’s not, then I’m the boss! I can just rip the stupid stuff out and do it over again. Who does this hat think it is, anyway?

Right. So, my late-night tantrums aside, I hope you’re starting to get the picture here. Hats are the perfect project on which to try out your designing skills. (Well, except for scarves. I mean, they don’t even have decreases, for goodness’ sake!) And once you get comfortable with the basic structure of a hat, you can start to really push the limits with stitch patterns and other random embellishments.

And now that you know all my secrets, I’ve probably put myself out of business before I’ve even really begun. But I am deciding not to care because knitting is just so darned awesome, and everyone should love it as much as I do.

So there.

Posted on

Leafalicious Hat Pattern

Here it is, in all its glory:

Leafalicious Hat

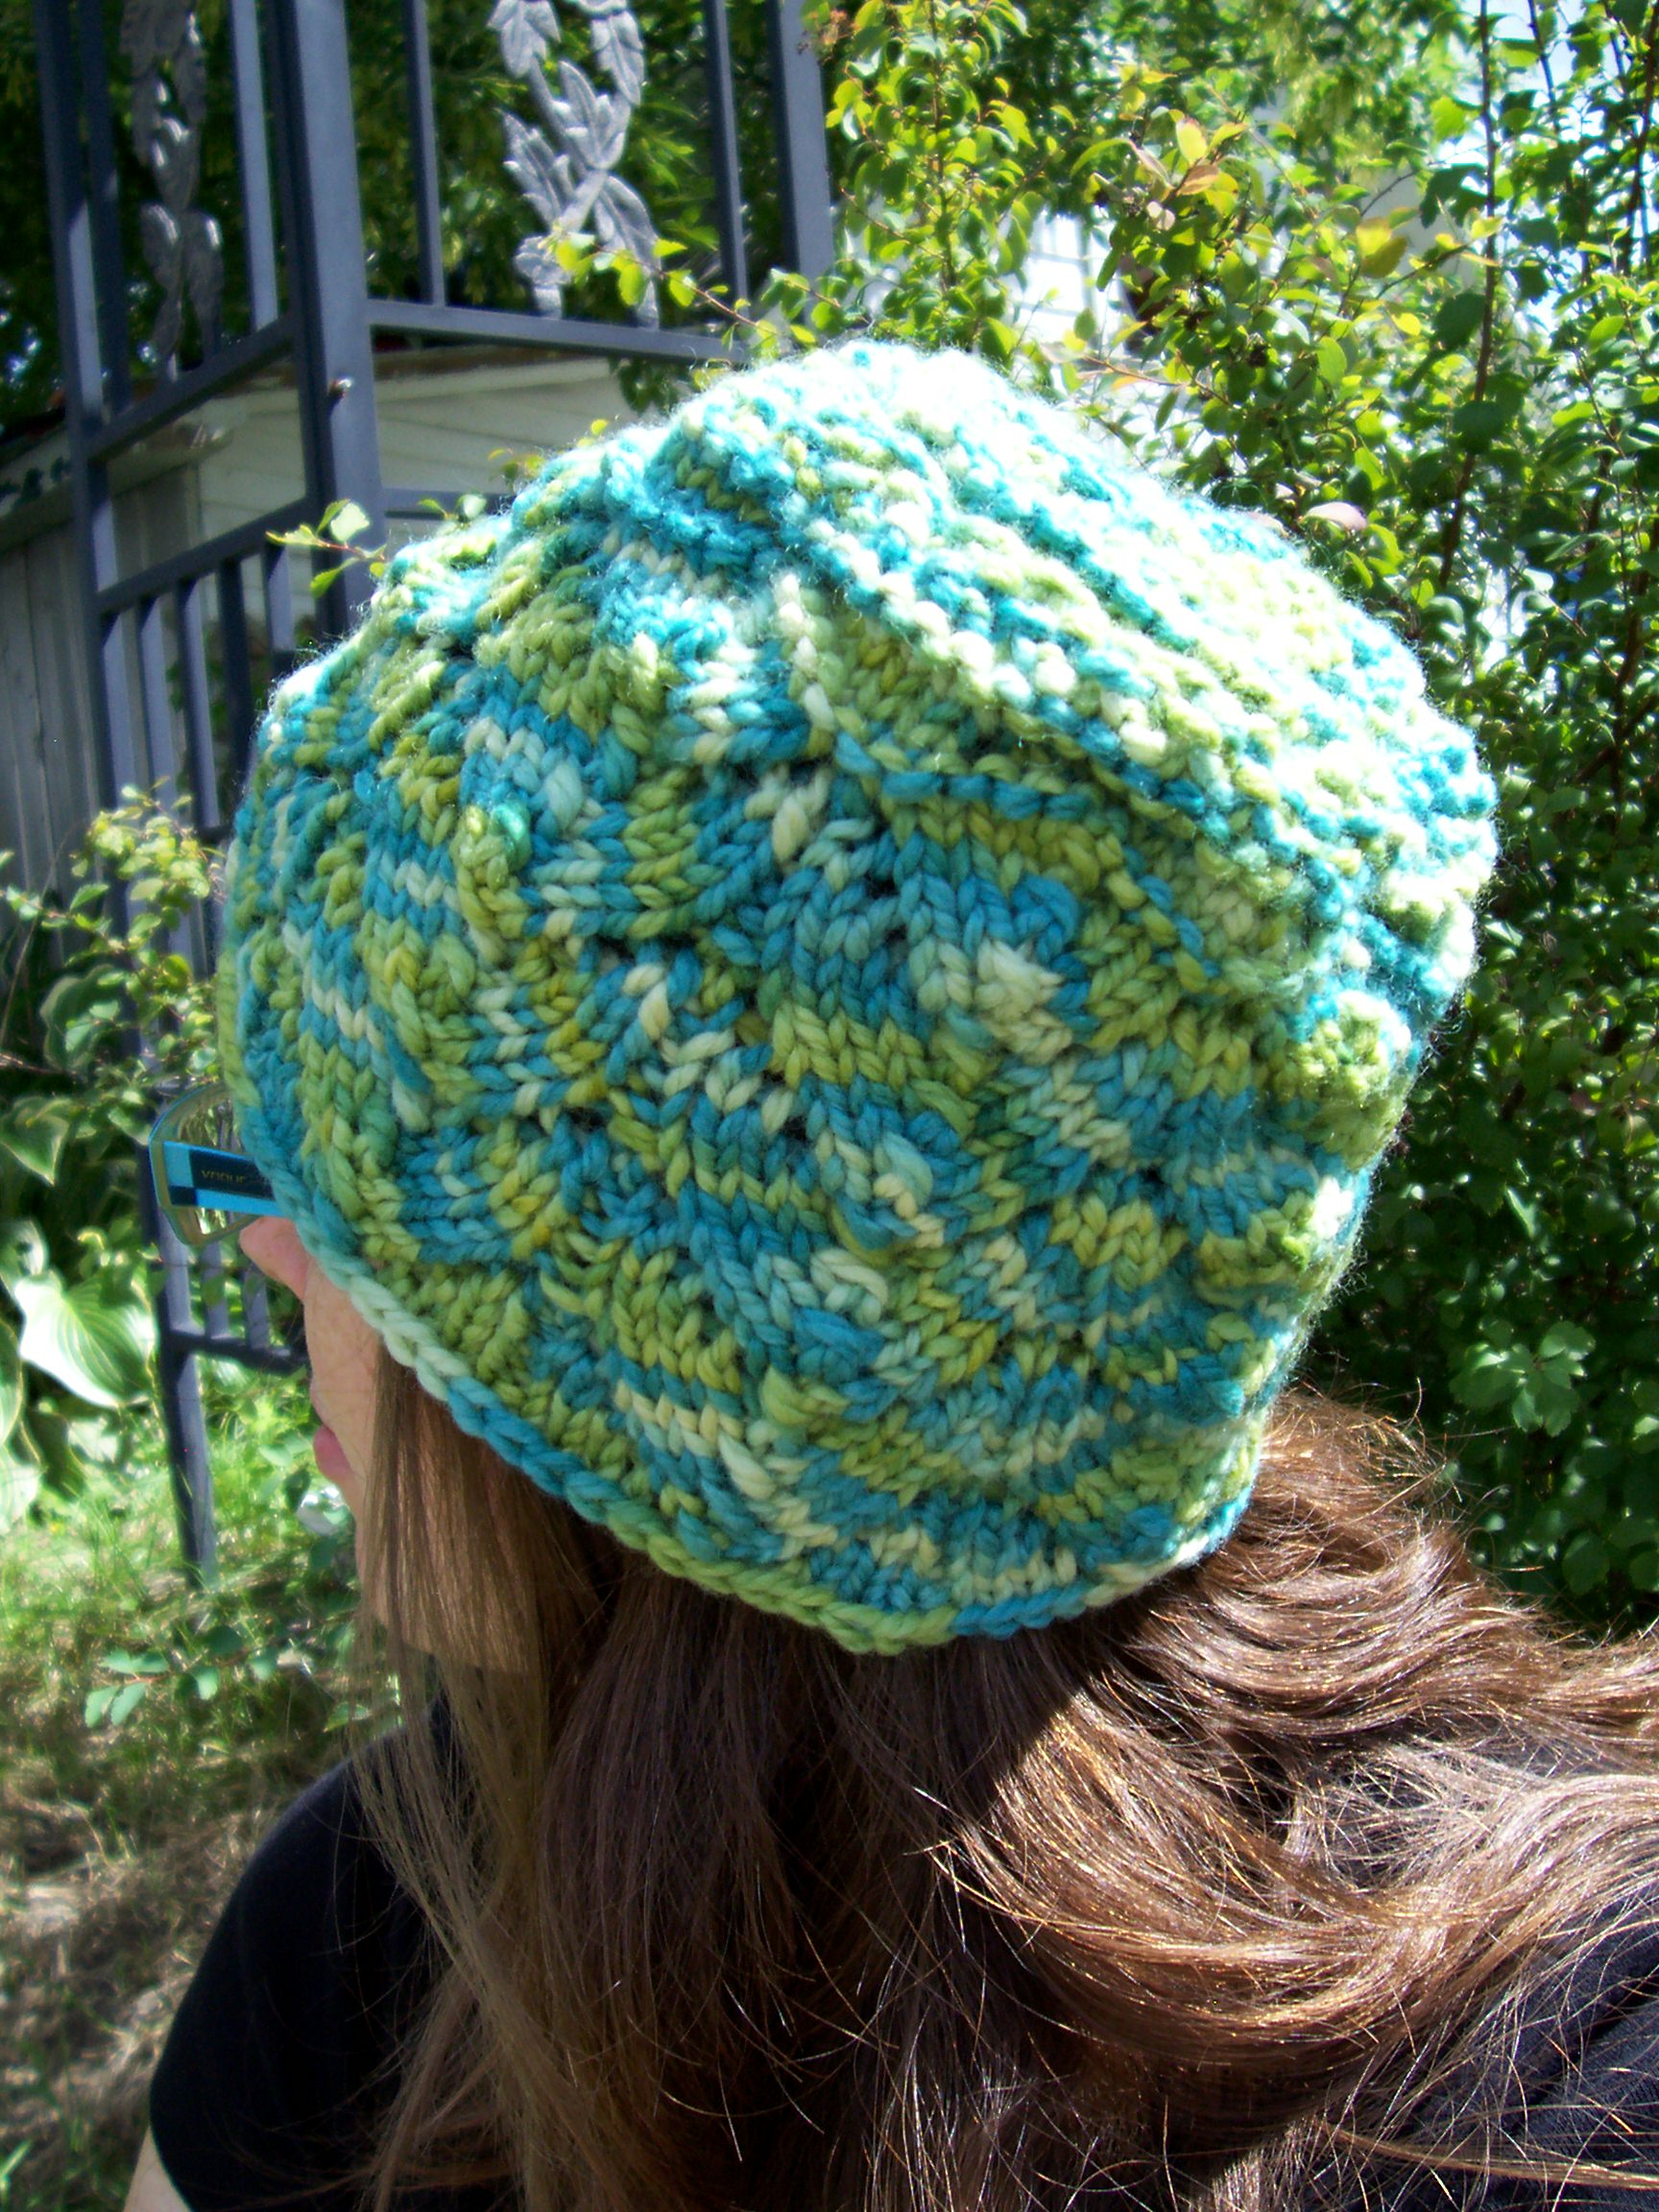
Knit in bulky-weight yarn (shown here in hand-spun, hand-dyed yarn that a friend sent me — isn’t she nice?) with size 9 US (5.5mm) circular needles, the Leafalicious hat is knit in the round from the top down. You’ll use interesting stitches like Judy’s Magic Cast On, LRinc, kfb, seed stitch, and a lace repeat. But with the bulky yarn, it still ends up being a fairly quick knit.

I had a blast watching the colours move in zig zags through the Leafalicious stitch pattern, and I can only imagine how cool this would look in a fall colourway to really imitate the changing of the seasons. If you knit one up, be sure to send me a picture or post it on Ravelry where I can see it! 🙂

You’ll need two size 9 US circular needles, stitch markers, and one skein of a fabulous bulky yarn. The pattern is available for $5 as a Ravelry download, or by clicking the link below. Watch for the matching Leafalicious Mitten/Fingerless Mitten Pattern, which is almost ready for publication.

Happy knitting!

Leafalicious on my kitchen table
Leafalicious -- back & top view